Posted on

How to start Deadzone

Deadzone is fast paced sci-fi miniature skirmish game set is a corporate dystopian galaxy. Played on a 2′ x 2′ area with an integrated terrain system, Deadzones rules are simple to learn and very intuitive. The game rewards players for using tactics in the game as much as their collection of miniatures.

The two books you need to play Deadzone are the Rulebook and the force list. The rules for all ten factions are contained within the force list book. Sixteen scenarios and a campaign system are included in the rulebook.

The first decision to make is whether to get the two player starter set or the main rulebook.

If you are starting Deadzone this set is perfect, it contains the rules, force lists, counters and dice that you need to run the game. As well as a play mat, terrain and starting models for two factions, the Veer-Myn and the Corporate Marines of the GCPS. On the reverse of the play mat is a tutorial map for introductory play, which is great for first time players.

The next stage is to get paints, glue and tools to assemble and paint your collection. The terrain assembly is very intuitive and supports multiple build types. The troopers themselves vary in complexity from the basic soldiers to the characters and monsters. There are detailed instructions for building these models contained in the box and if you get really stuck or this is your first time pop in and ask.

The alternative is to buy the Rulebook set.

The Rulebook Set is the rulebook, force List and counters from the boxed set above. This is perfect if you are upgrading from the previous version of the game, or if you would prefer a different faction from those included in the starter set. Of course to play you will need models for your chosen faction, command dice, D8s and terrain. All of which are available from the store.

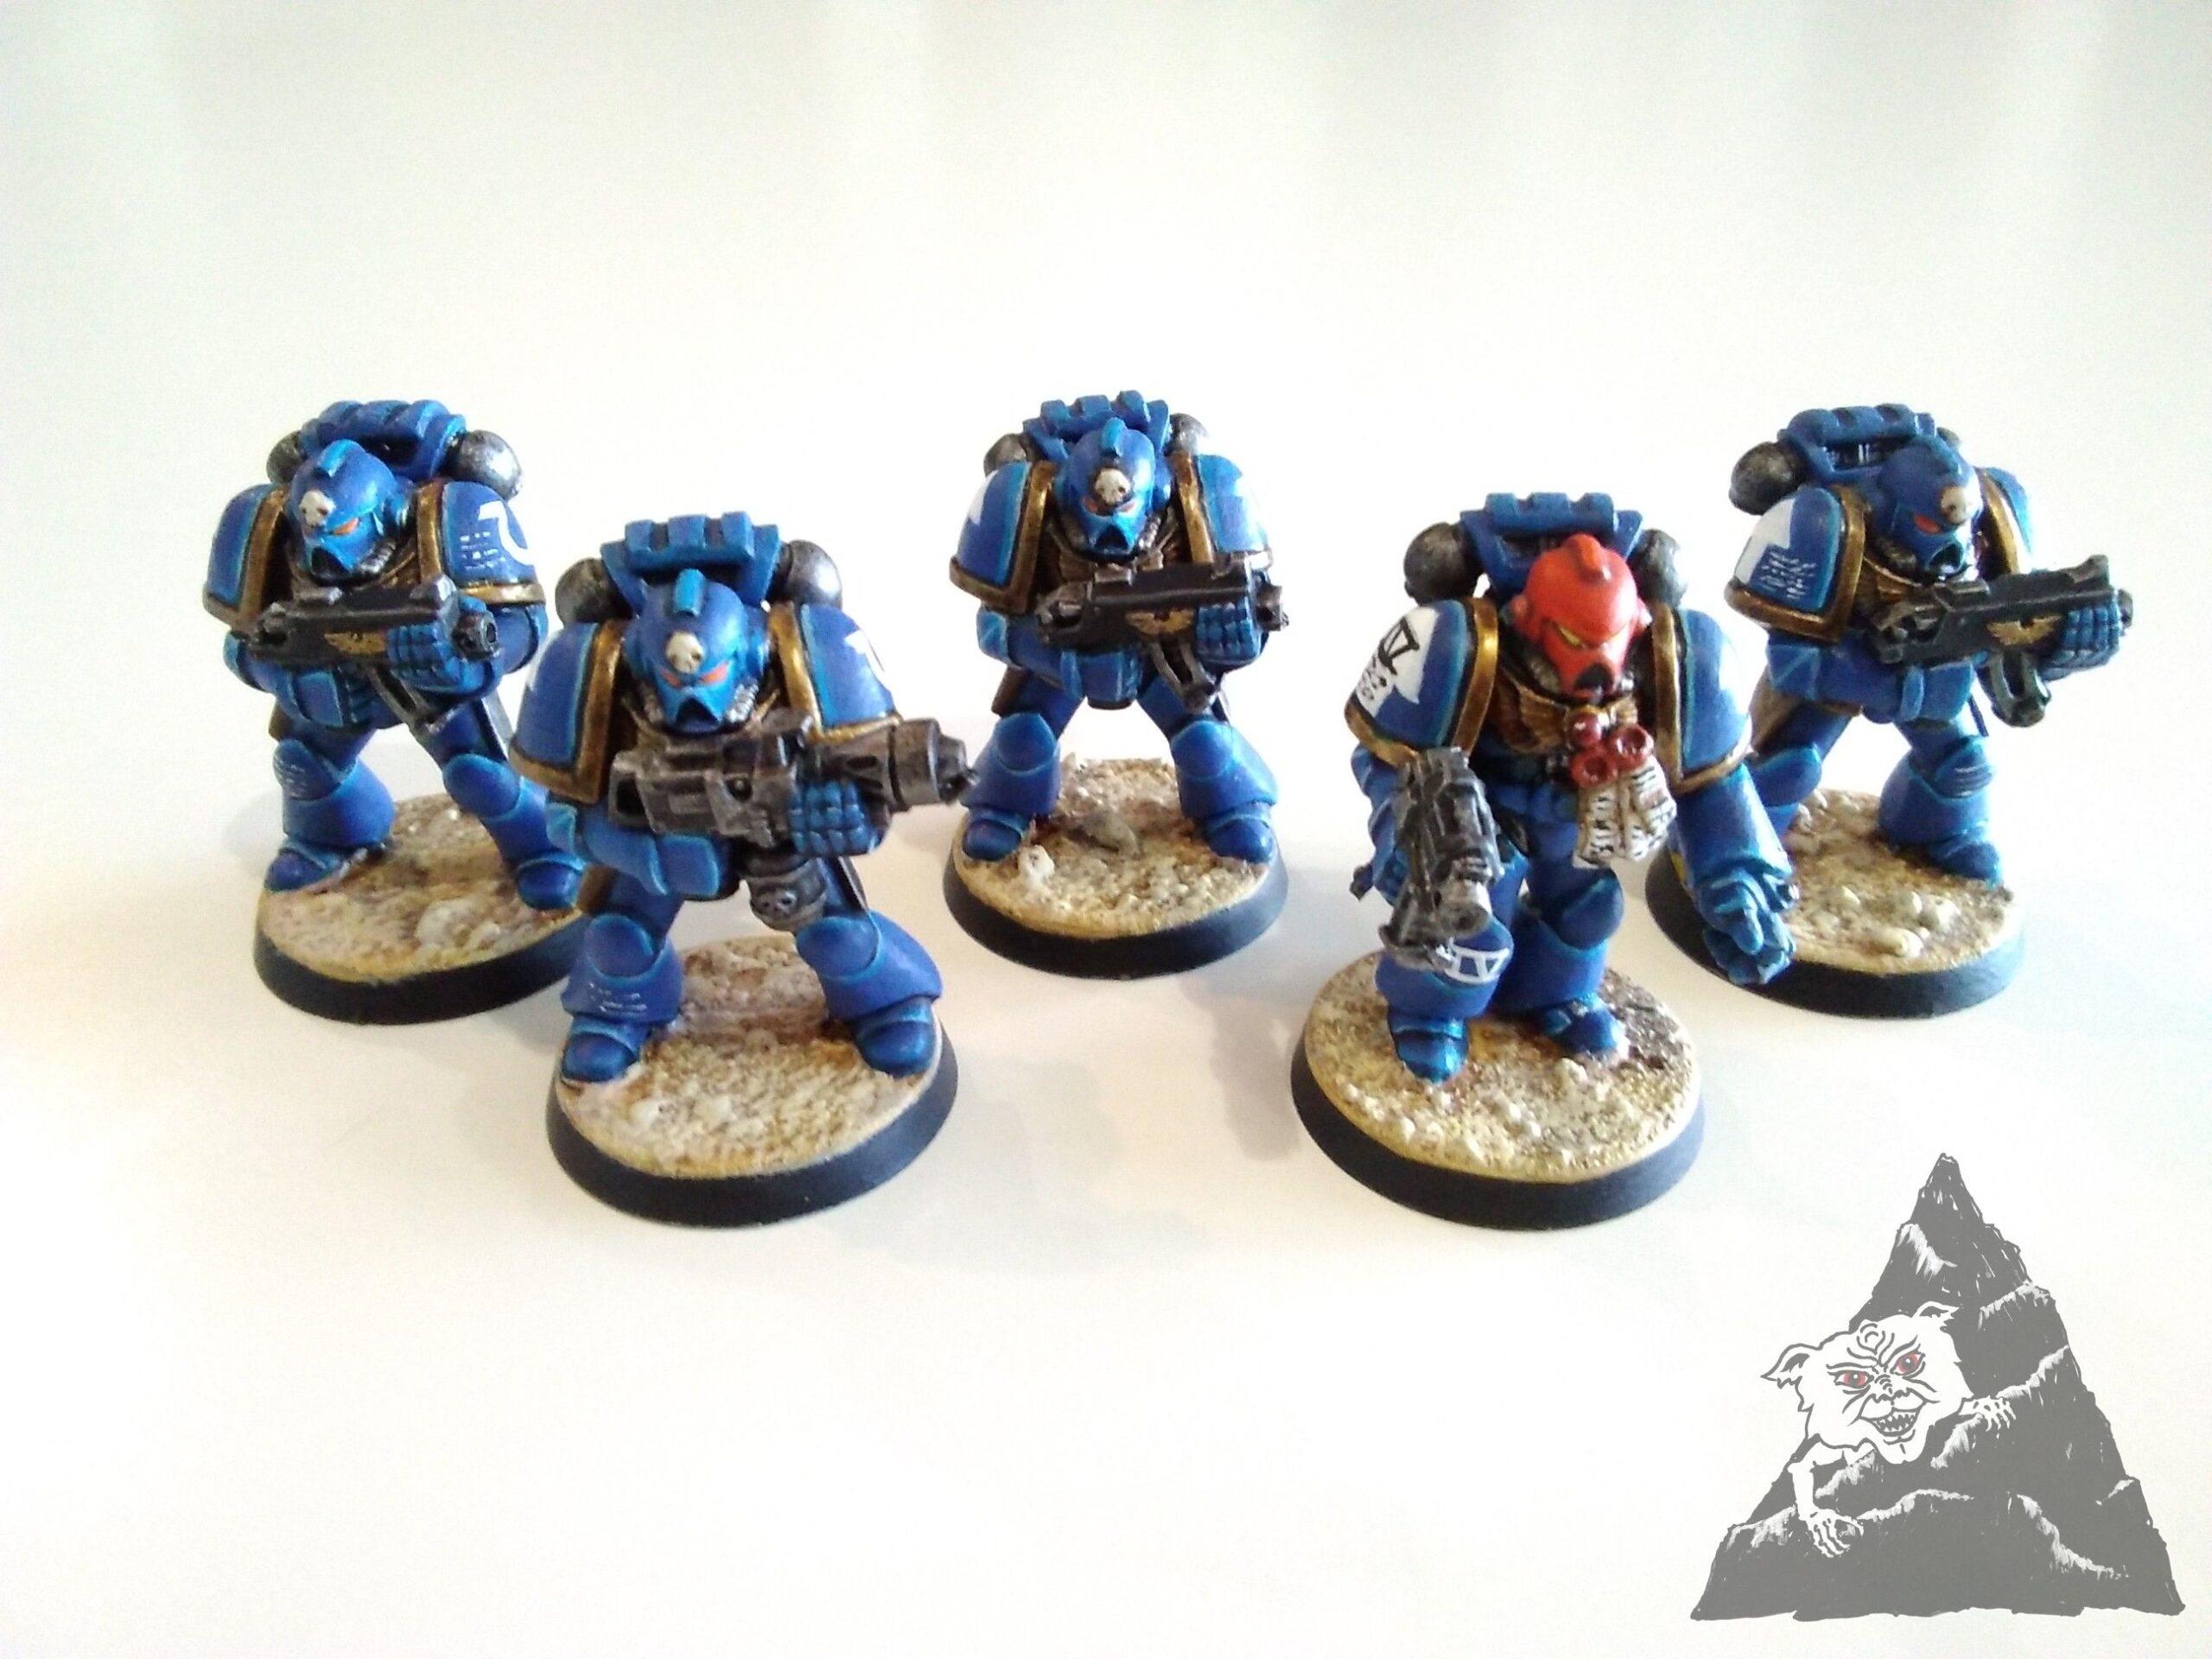
Just a few images of a few factions for Deadzone, plenty more in the books.

OK you’re still reading? Great! Did you know that you can use the miniatures and terrain from Star Saga in your Deadzone games? Perfect companion system provided you enjoy tactical, fast-paced, sci-fi adventure. Pop in for your demo soon and remember #Deadzoneislife

Posted on

Ultramarines Painting Guide

Intro

A few years back I painted and subsequently sold an Ultramarines army. I have decided to revisit that project, while this time staying with the aesthetic of second edition of Warhammer 40,000. I acquired a few miniatures from that period and have stripped them of their previous paint.

In the early days of second edition and the later days of Rogue Trader, one of the main story events was The Battle for Armageddon. A huge planetary campaign which was the setting for a number of games, miniatures and white dwarf articles. This background setting introduced Commissar Yarrick, the disfigurement of Captain Tycho and later the Astra Millitarum Steel Legion. As the campaign setting was such a large part of 2nd edition, I decided to paint these classic marines as participants of that campaign.

Image from “Battle for Armageddon Scenarios” contained in Warhammer 40,000 2nd Edition boxed set. By John Blanche.

Painting Guide

The first thing I did was assemble and base the miniatures. Sub assembly makes it easier to paint details on the models. So I stuck the bolters and backpacks on cocktail sticks to a piece of kindling. I consider bases part of assembly, so I glued basing sand to the bases with PVA.

I then primed the models with brush on grey primer. Grey is a good neutral colour to prime models with.

The next stage is to base the model and start the metals. As these are usually drybrushed, which can get messy I do these first. Firstly the metals were base coated with black. The shoulder rims and chest were painted with Balthasr Gold and highlighted with Greedy Gold . The weapons were drybrushed using Gunmetal and Plate Mail. After that the metals were given a wash of Mixed Strong & Dark Tone .

After the leaving the wash to dry for a day. The final highlights were applied to the metals. This was again another round of drybrushing. This time with Plate Mail and Shining Silver. The other metals with Greedy & Bright Gold

I used thinned Dark Sky followed by a layer of Macragge Blue, for the base coats of the armour plates. This gives a good strong colour to work with and it’s first shading.

Here I have edge highlighted each piece of armour individually using Crystal Blue, Ultramarines Blus, Voidshield Blue, and Viking Bue. Using the same technique I painted bolter casings with uniform grey and hardened carapace. The model then gets its final assembly.

The final part is to detail the models. In this case chapter markings, tactical markings and codex dedications. I painted all these freehand with Matt White. Eyes were done with Pure Red, with a Matt White dot in the corner.

Combat Squad IV Ready

Finally a here is a group shot with a sergeant. I made the sergeant from different parts from a mid 90s plastic multipart space marine kit and the close combat weapons sprue. I have added a number purity seals from more recent kits. Unusually for a sergeant he is wearing a helmet.

Paints used from The Army Painter and Citadel Colour.

Models from Citadel Miniatures 1993

Posted on

Oldhammer Devastators

When you run a business you can get very busy, I’ve recently noticed that I have been neglecting the blog. So it’s time to recitfy and restart . There will be regular posts and updates about painting and gaming projects in the store. As well as articles and other things.

The store has a collection of Space Marines from the 1st edition of Warhammer 40,000. They form part of the store display armies and are painted as Dark Angels. Back then the Space Marines models wore what is now known as MK VI or Corvus armour. The Dark Angels had a black colour scheme with red markings instead of the green they are now known for. The original colour scheme is referenced by the Horus Heresy game, which is set around the early period of the Imperium, which is about 10,000 years before the main game.

Here is the Devastator Squad added to the Dark Angels RTB01 army. It was actually painted before the assault marines and chaplain, but gets posted now for some reason. This squad is the first painted to get sergeant and veteran sergeant markings. These take the form of helmet stripes and the Veteran Sergeant gets a rank badge on his power fist.

The squad makes use of plastic Imperial Guard heavy bolters and lascannons, from the weapons sprues available at the time. You may have seen the lascannon marine before as it was part of the second tactical squad painted. That squad is now equipped with a missile launcher. Their lascannon now forms part of the devastator squad.